I am often asked "What do you do to cottonwood bark, before carving?"
Let me start by saying if you've never carved bark, you should give it a try. You can get a lot of detail in a solid piece of bark. It was some beautiful grain, and comes in different colors from yellow gold to reddish brown. That being said, bark is dirty. Unlike wood, it has spent it's entire existence exposed to the elements. It has had dirt,sand and grit deposited and created inside it for years, for decades. For that reason, you will find your tools dull quicker, so strop often.
Good news is, you can remove a lot of the grit with a garden hose, nylon brush and some elbow grease.
 |
| Here we go. |
 |
| I start by blasting the front and back of the bark removing some of the loose grit. |
 |
| I then scrub all sides of the bark with a nylon brush. I've just started on this piece, and you can see how dirty the water has become. I change the water for each piece of bark. |
 |
| Rinse with the hose again and lay in the sun to dry, turning when one side is dry. |
 |
| This piece has dried for several days in the garage. This is the back, and you can see the loose material that needs to come off. |
 |
| I bought this cheap bench chisel at a local discount tool store. You can pick up a set for a few dollars. I resharpened this one and it works great for this purpose. |
 |
| I want to remove all the loose and uneven material from the back. |
 |
| The result, a flat even surface suitable for hanging on the wall. |
 |
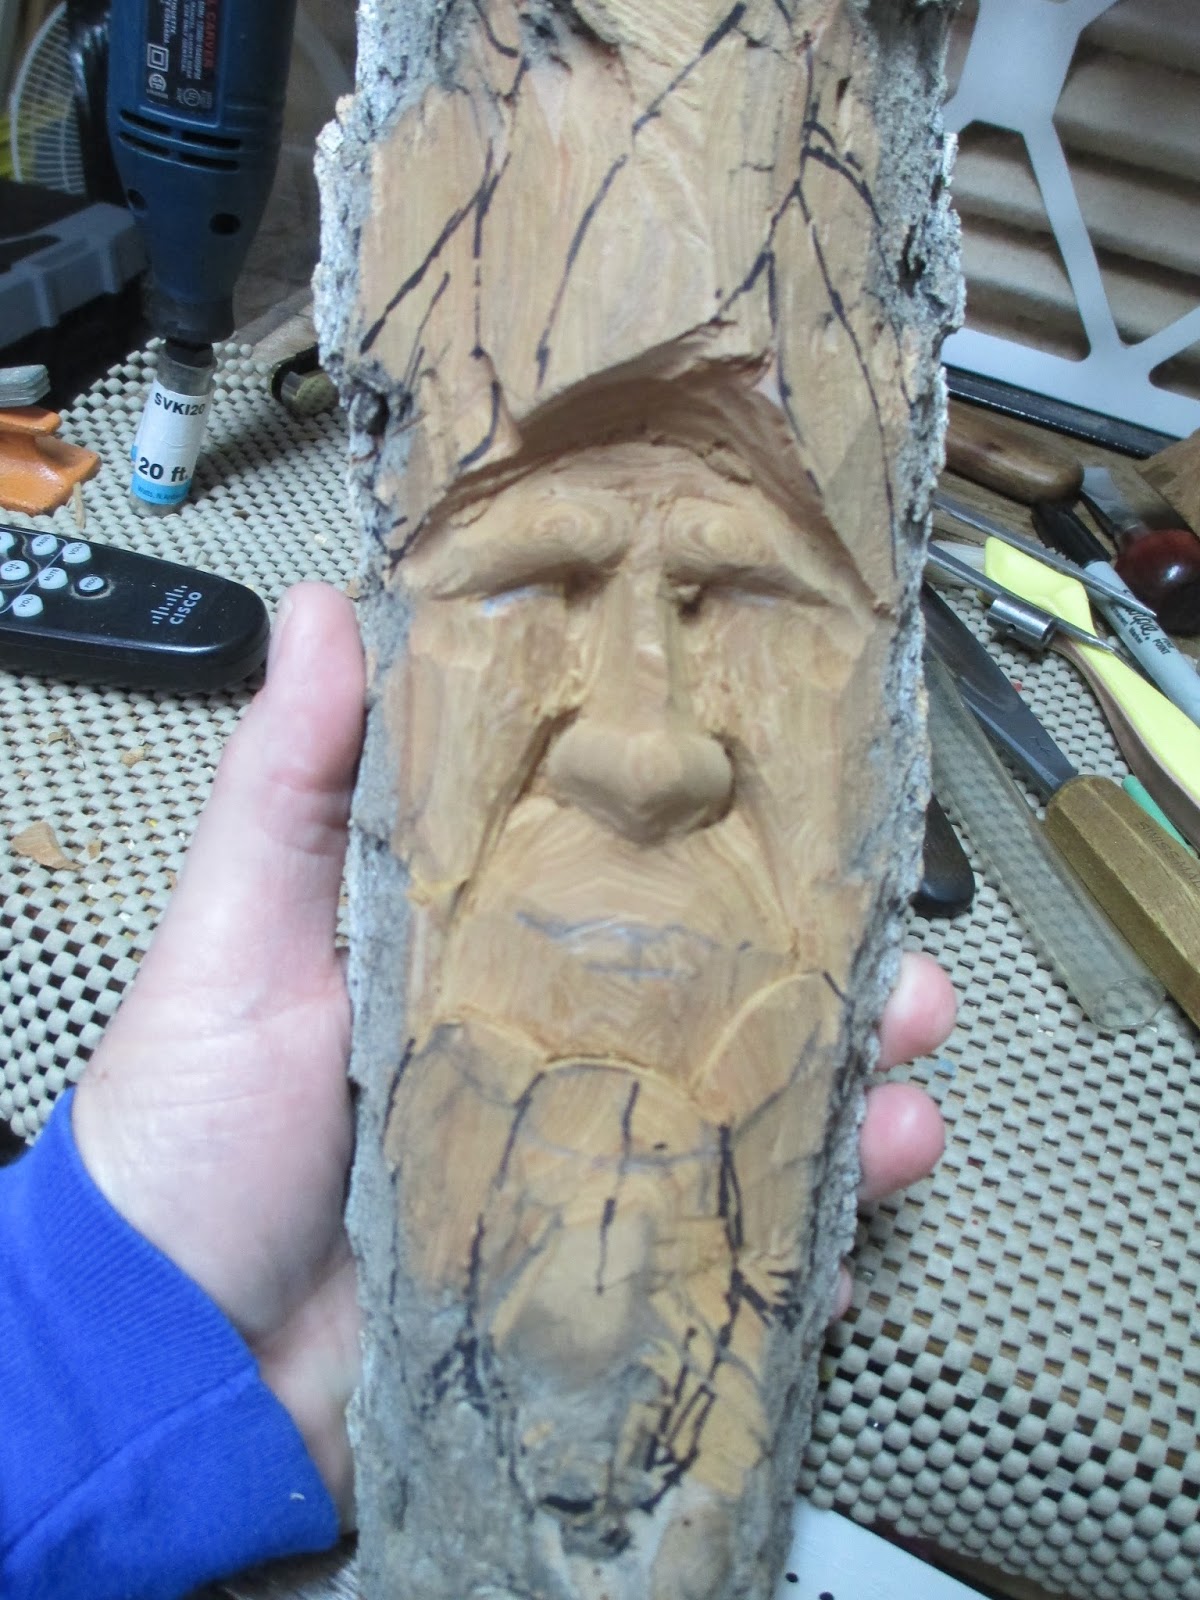
| Moving on to the front, you need an idea of what you are wanting to carve. I'm carving a face. Could it be a wood spirit, Native American, mountain man or who knows? I like to leave some of the original bark surface on my carving, it gives a rustic look. So I leave a lot on each end, I can always remove more.Using the cheap bench chisel, you need to remove all the loose material where you are planing to carve. Do not leave loose bark thinking it will make a good nose, you will regret it later. You need solid material for your carving, so whatever you have left is what you have. Adapt your carving to that piece of bark. |
 |
| Two pieces cleaned up and ready for carving. Check back to see what they become. Hope this helps, happy carving and remember Chips Happen! |


