

Monday, December 31, 2018
Thursday, December 27, 2018
Rolling pins for Christmas 2018
I carved vintage rolling pins for this year's Christmas gifts. I covered carving them in a Woodcarving Illustrated article in the Holiday 2018 issue. Maybe I will post a more in depth tutorial here at a later date, if there is interest. However, this post covers my painting technique.
For those of you who follow along, you know I don't like to paint my carvings. I prefer the natural grain of wood. Christmas is one exception. For that exception I use thinned acrylic paints. I thin to a stain consistency, that still allows for the most part, the grain to show.

Hope you enjoyed and thanks for following along!
For those of you who follow along, you know I don't like to paint my carvings. I prefer the natural grain of wood. Christmas is one exception. For that exception I use thinned acrylic paints. I thin to a stain consistency, that still allows for the most part, the grain to show.
 |
| Carved and ready for color. |
 |
| I start by painting the eyes with titanium white. This paint is not thinned. |
 |
| I use a dark blue, slightly thinned, for the base of the iris. |
 |
| I thin a lighter blue and paint the center of the iris, leaving a ring of dark blue around the edge. |
 |
| Using a slightly thinned black, I paint the pupil. |
 |
| I use lighted magnifiers to see what I'm doing. The old eyes ain't what they use to be. |
 |
| I use a toothpick to add details to the coloring of the iris. I switch between different shades of blue. Then add a white highlight for the gleam in the eye. |
 |
| The result. |
 |
| I've painted the bottom of the upper eye lid with raw umber, to add a lash line. I use a thinned tomato spice for the hats and Mrs. Claus' dress. |
 |
| I paint the fur with thinned titanium white and a small amount of raw umber. I add a little more raw umber for the hair and beards. |
 |
| Dry brush the fur and hair with titanium white. Dry brush the hats and dress with yellow & tomato spice mix. |
 |
| The result. |
 |
| I apply a water based polyurethane on the carved area. |

 |
| I applied a coat of Howard's Feed N' Wax on the entire rolling pins. |
Woodcarving Illustrated Article Holiday 2018
I was honored to have an article published in the 2018 holiday issue of Woodcarving Illustrated. It was a short article showcasing carving a vintage rolling pin. Maybe I will post a more in depth tutorial here if there is interest.


Sunday, December 2, 2018
Against the Wind
I carved this guy from a split log of Missouri red cedar. I finished it by applying several coats of boiled linseed oil allowing to dry for a few days. I then sprayed several light coats of Deft Lacquer. I like this one so much, I am keeping him.


Friday, November 16, 2018
Oak Park Craft Fair 2018
This will be our second year at this event. Come on out and get an early start on your Christmas shopping. Over 150 booths, this is a big one!


Friday, October 5, 2018
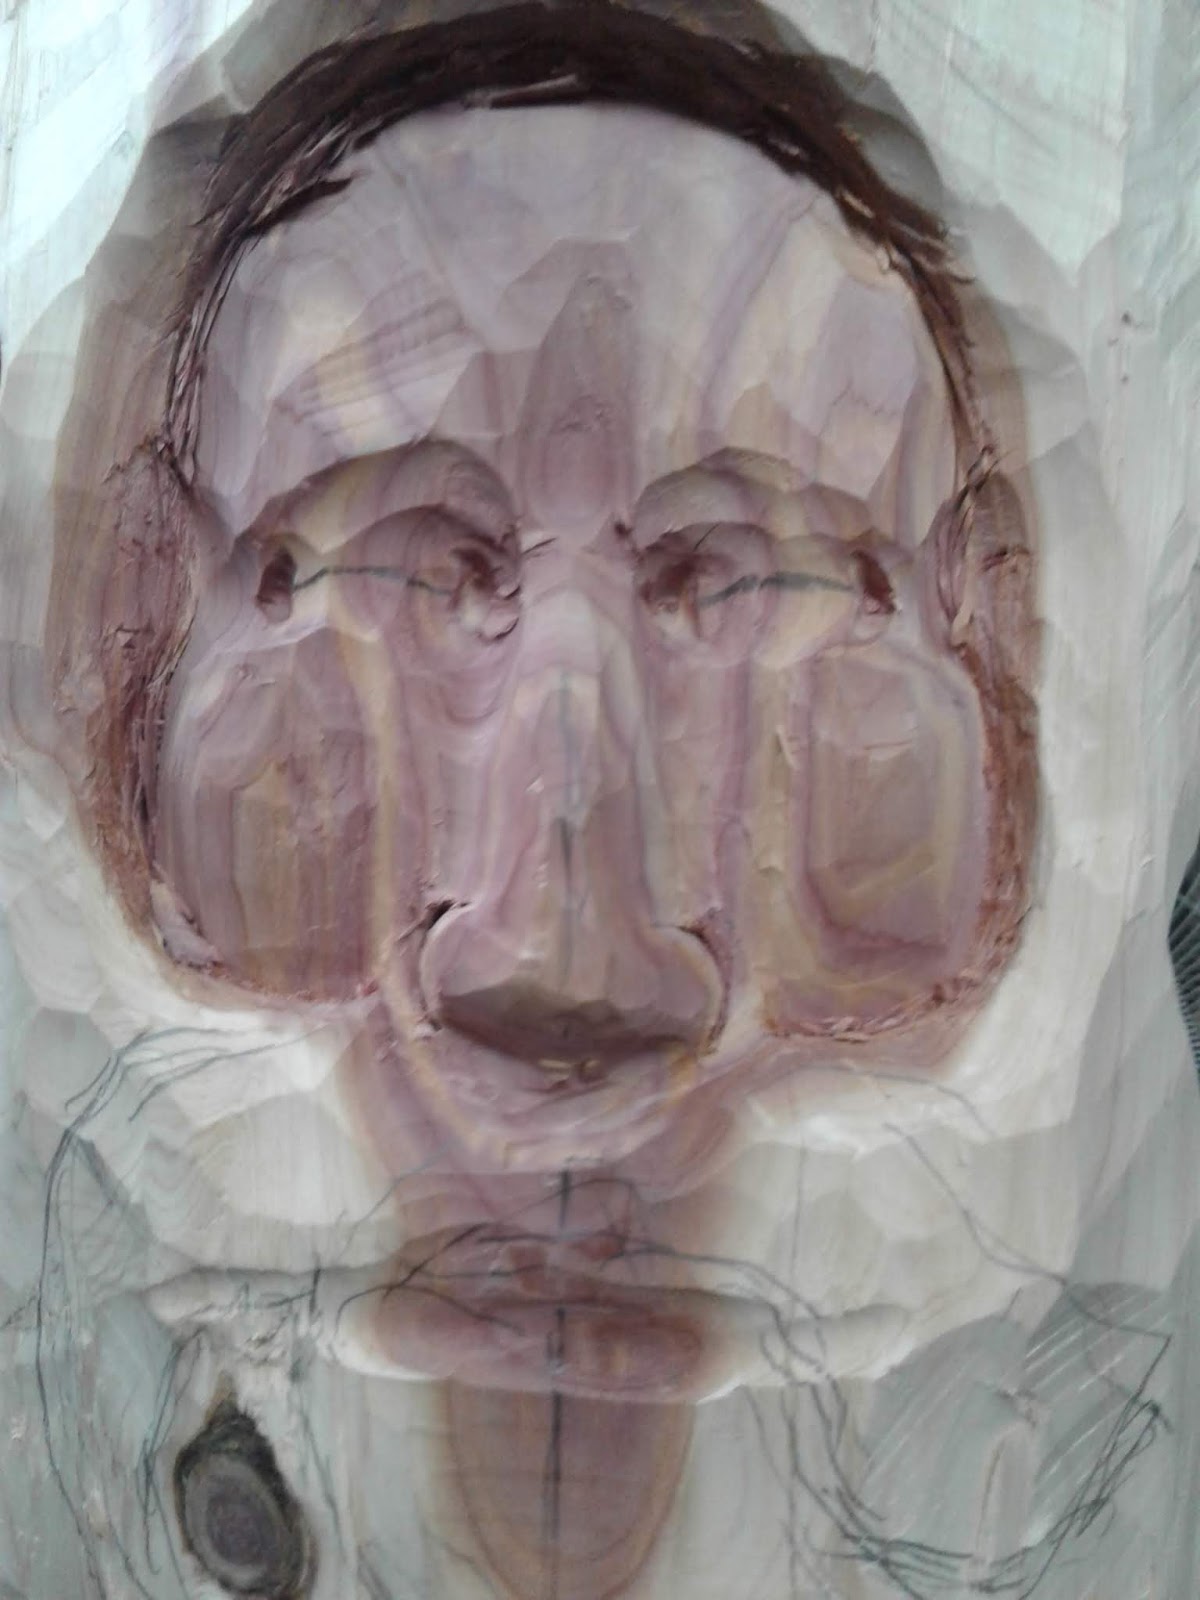
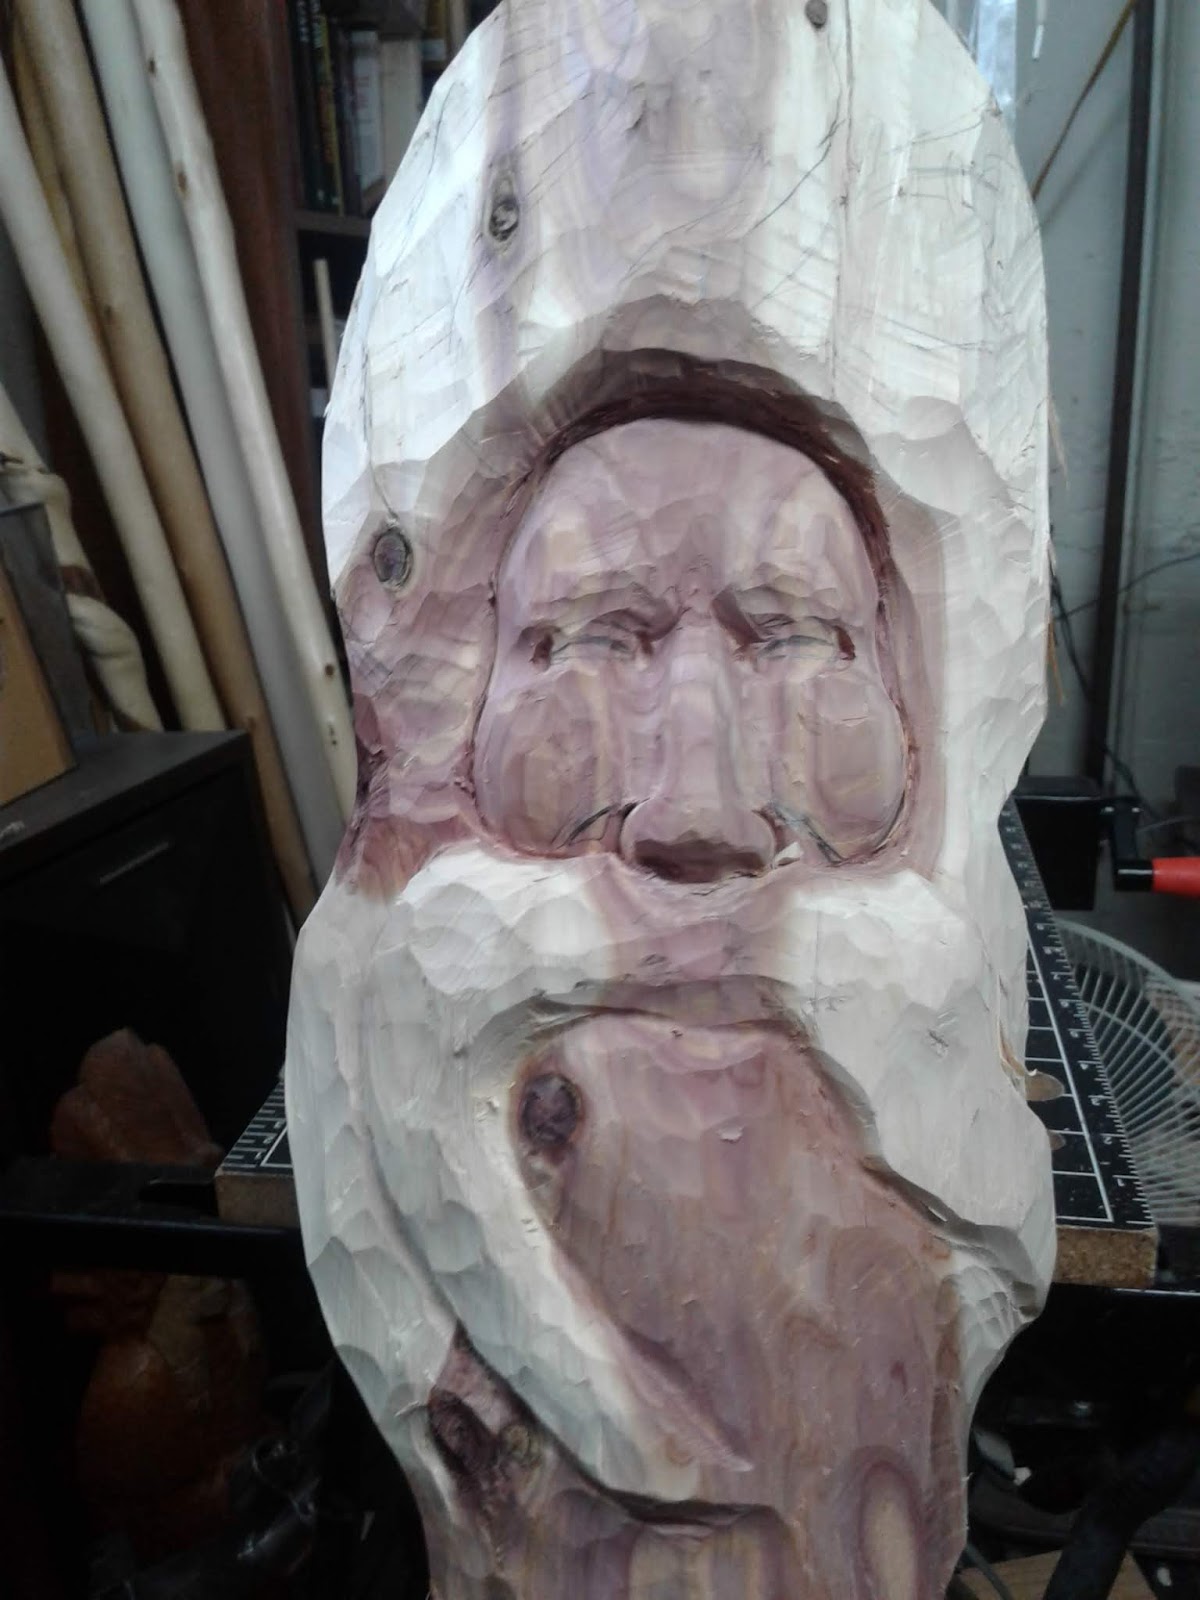
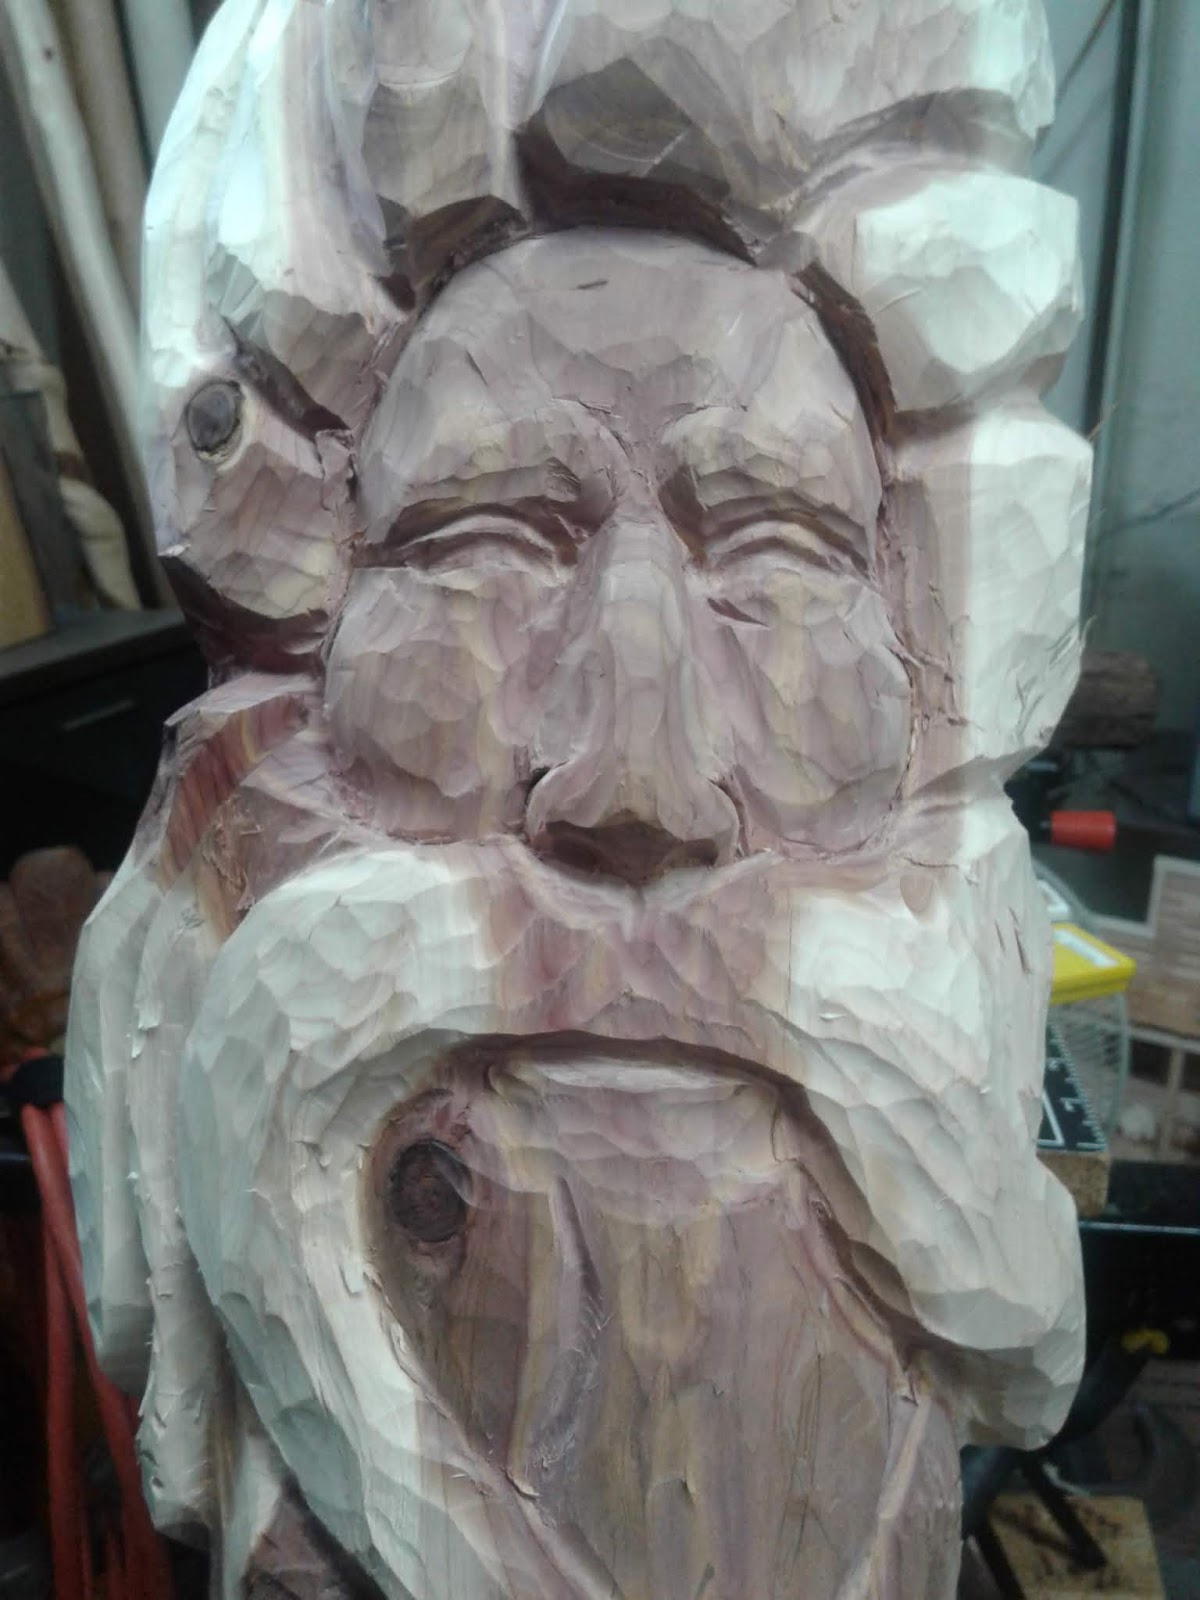
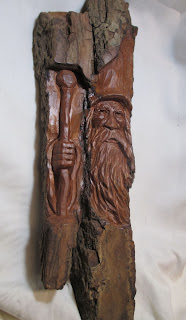
Merlin the Wizard
I carved this one from Missouri cottonwood bark. I started with a quick sketch and then cleaned the carving surface. As I was carving this one the nose broke off, often a problem with bark carving. But no worries, there was another nose behind that one. I just re-carved the face and it turned out better than the first. I finished the carving with Deft Satin Lacquer.


Friday, September 14, 2018
Cutting Ornament Blanks
I carve a lot of Christmas ornaments, mostly using the 'carving on the corner' technique. I am always asked how I cut the blanks. I use a jig I made out of scrap wood I had around the shop. I started by cutting a piece of 3/8" plywood to the length of my saw table, and screwing a cleat to one end. I then made a cut in the center of the plywood until the cleat met the saw table. I cross cut a 2" x 4" at 45 degrees on my miter saw and glued them to the plywood, this will be the cradle that holds the board while sawing. After the glue has dried, I attach the jig to the table by clamping the cleat to the table. I am cutting a 1 1/2" x 1 1/2" square board, but it will work on any size that will fit through your saw. Feed the board across the jig to cut the board diagonally. I have a fence set up and cut each blank to the desired length of the blank. This technique is accurate, fast and easy. Now on to carving ornaments.....


Subscribe to:
Posts (Atom)