
First a list of the parts needed -
1 - 1" pipe flange

1 - 1" pipe tee
1 - 1" to 1/2" pipe reducer
1 - 1/2" to 3/8" pipe reducer
1 - 3/8" pipe flange
1 - 6" length of 3/8" pipe (nipple)
1 - 5/16" eyebolt with washer and nut, 6" length
Approximate cost $30
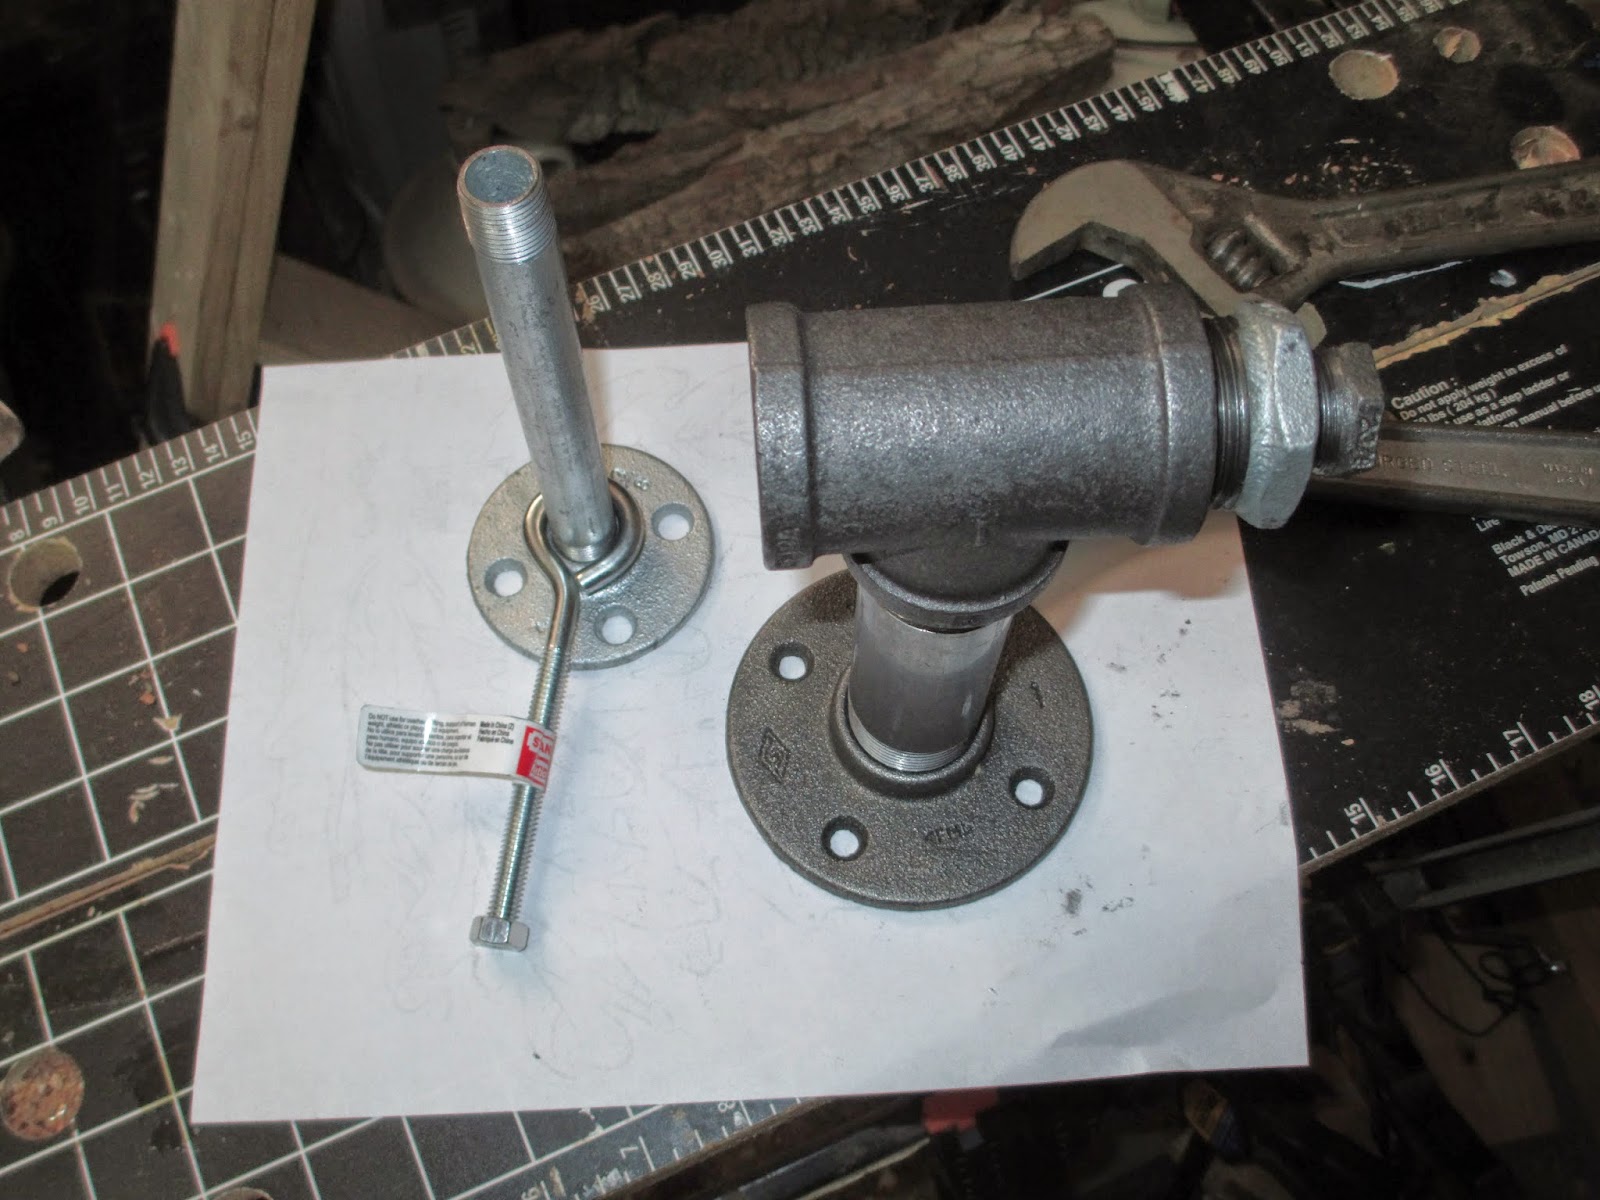
Here is the one change I made. If you are only going to use your vise for carving with hand tools you can bypass this step. But, if you want it to hold larger carvings and to use with mallet tools, this will prevent the vise from slipping. I made four notches on one end of the pipe tee with a hand grinder. This allows the 3/8" pipe that is holding the carving to set horizontal or vertical.


The black steel has an oily film.You need to clean the vise before applying a couple coats of good primer, and two coats of paint. If you used galvanized steel you can skip this step.


Secure your vise to a solid work surface, or to a board you can clamp to a bench or table. I attach the carving to the 3/8" pipe flange with drywall screws drove in at angle toward the center. If you like to work on more than one carving at a time, like me, buy an extra 3/8" pipe and flange. You can leave them attached and switch from one carving to another.
Happy Carving
No comments:
Post a Comment